It takes decades for a tree to grow, we don’t like to rush either…
The process
-
Sourcing timber
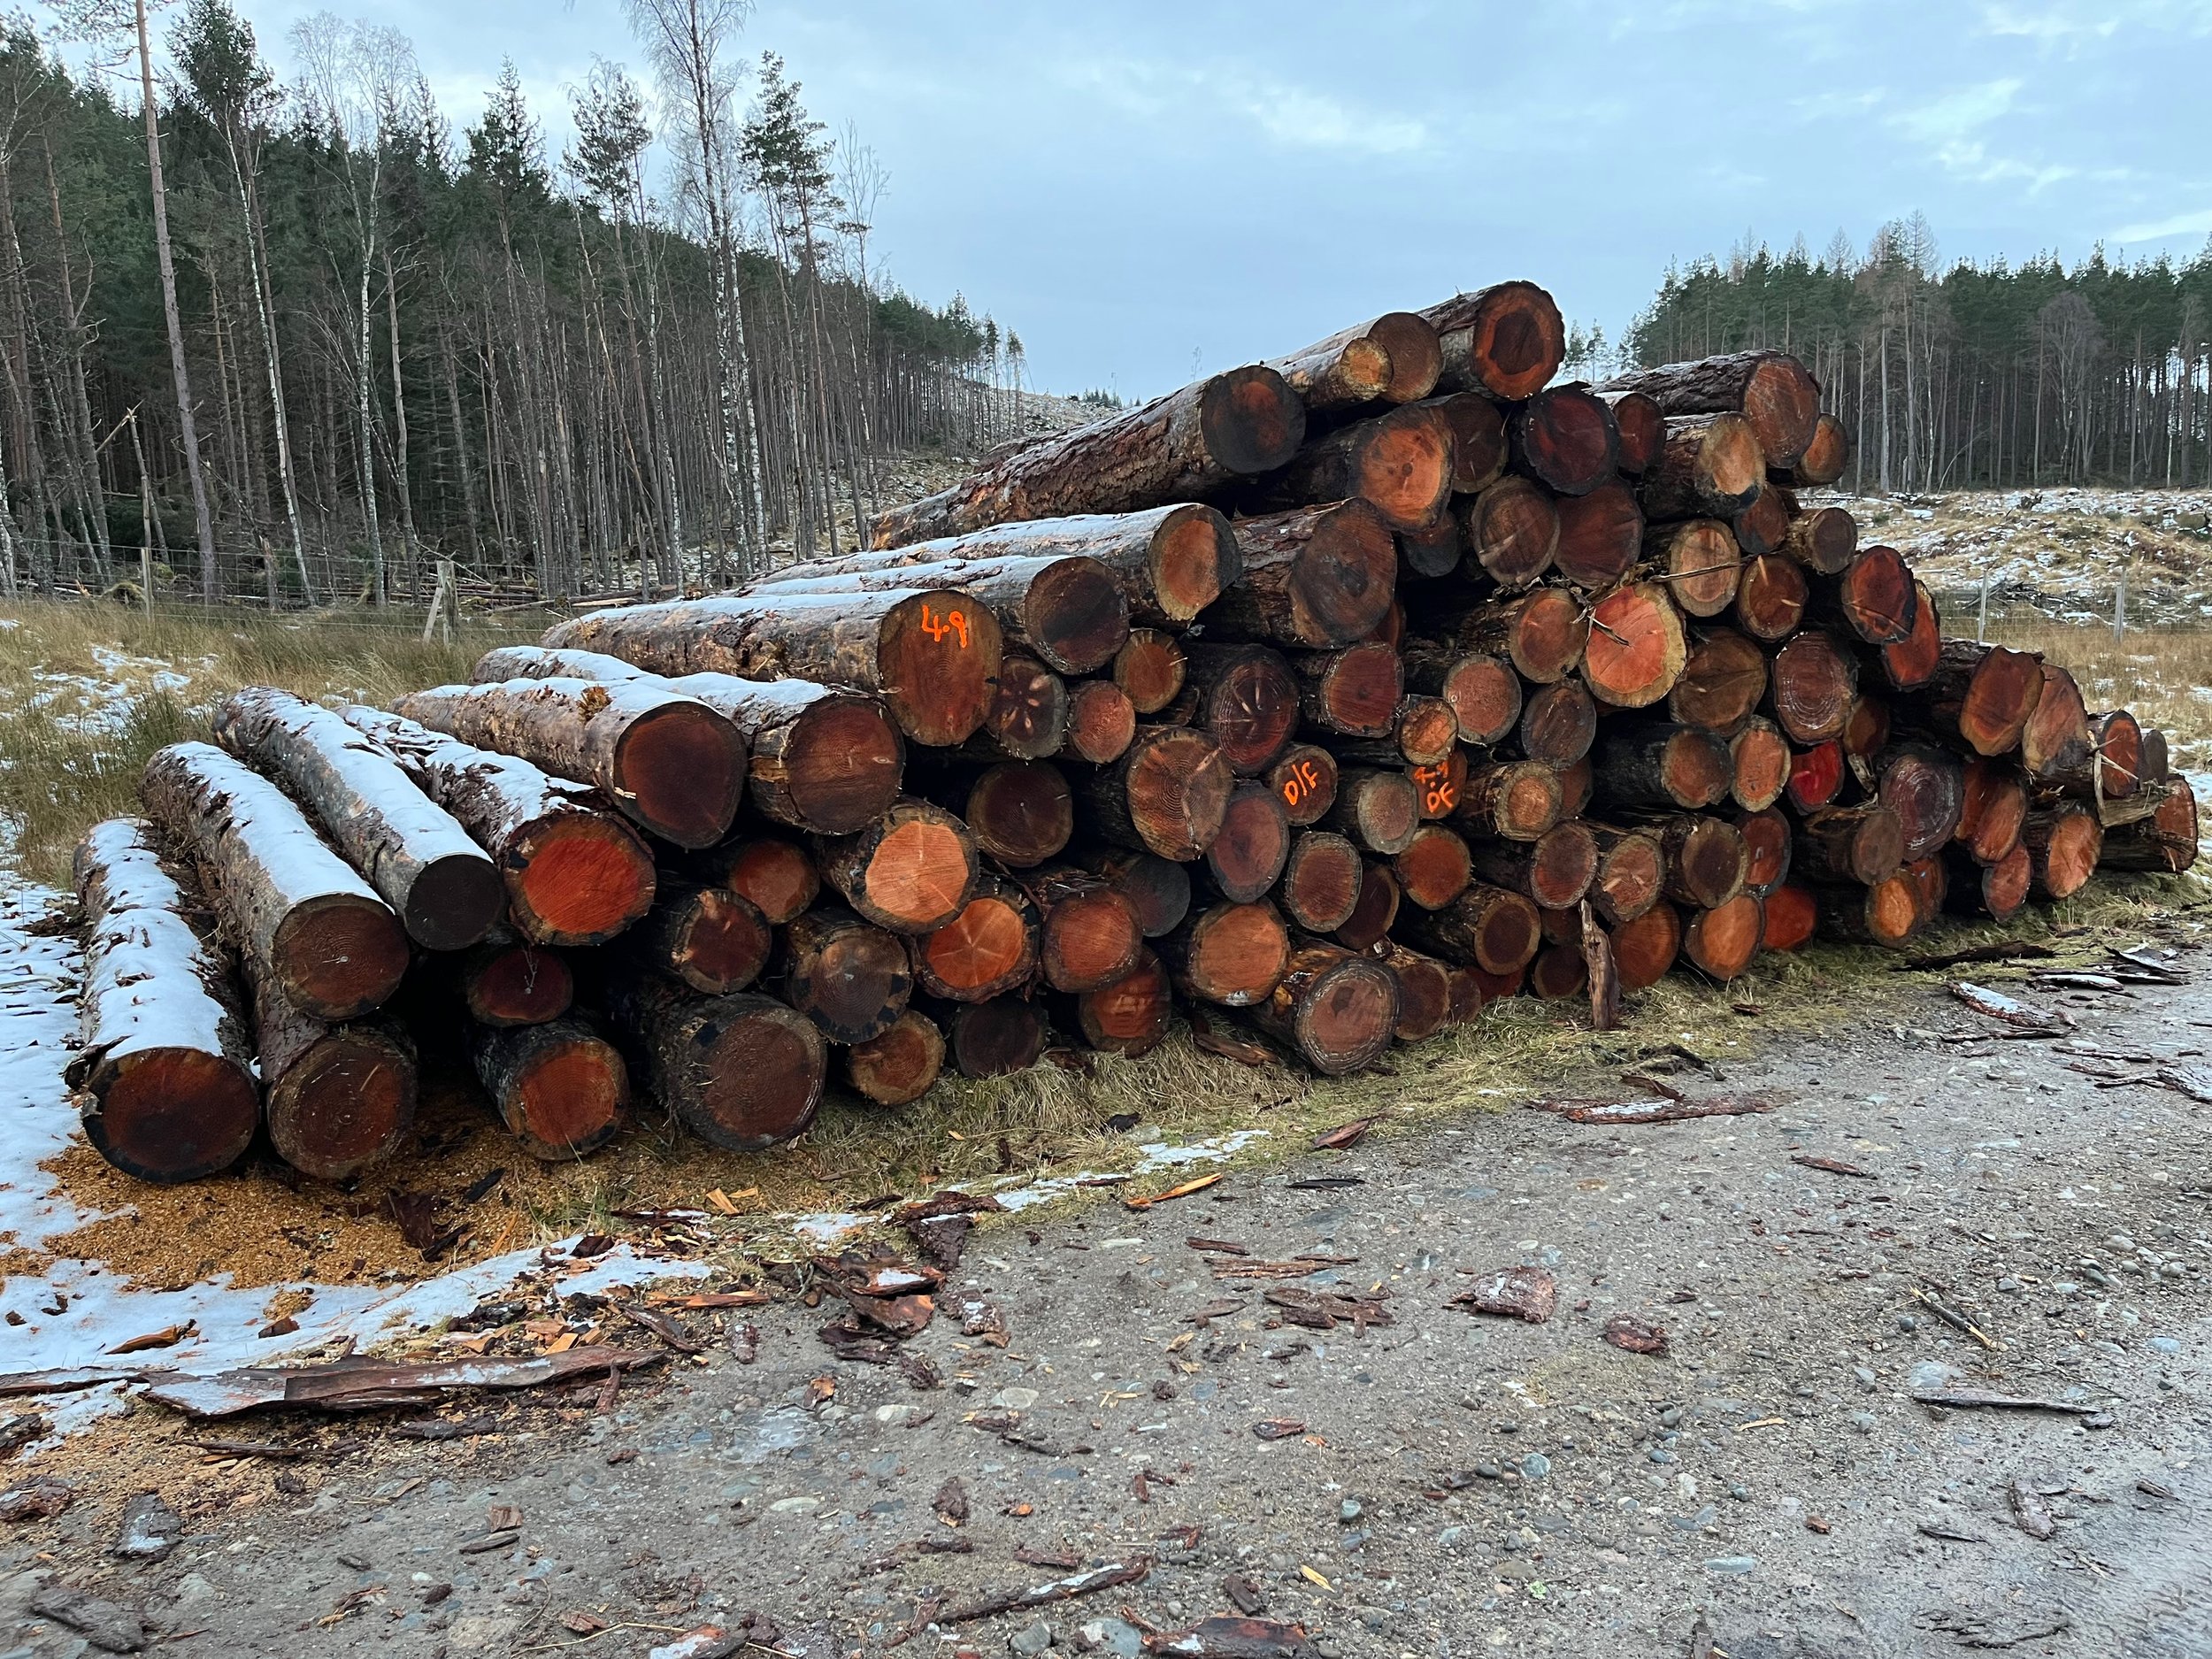
We use Oak, Elm, and Beech grown slowly in the cold wet environment of the Highlands. This produces smaller wonkier trees with very interesting grain patterns.
A lot of our hardwoods are saved from the firewood pile. Instead of getting chopped into pieces for our chimneys, we bring the logs to the croft, ready for milling.
If we’re using softwoods like Douglas Fir, we try to source them from the many community woodlands in the North.
-
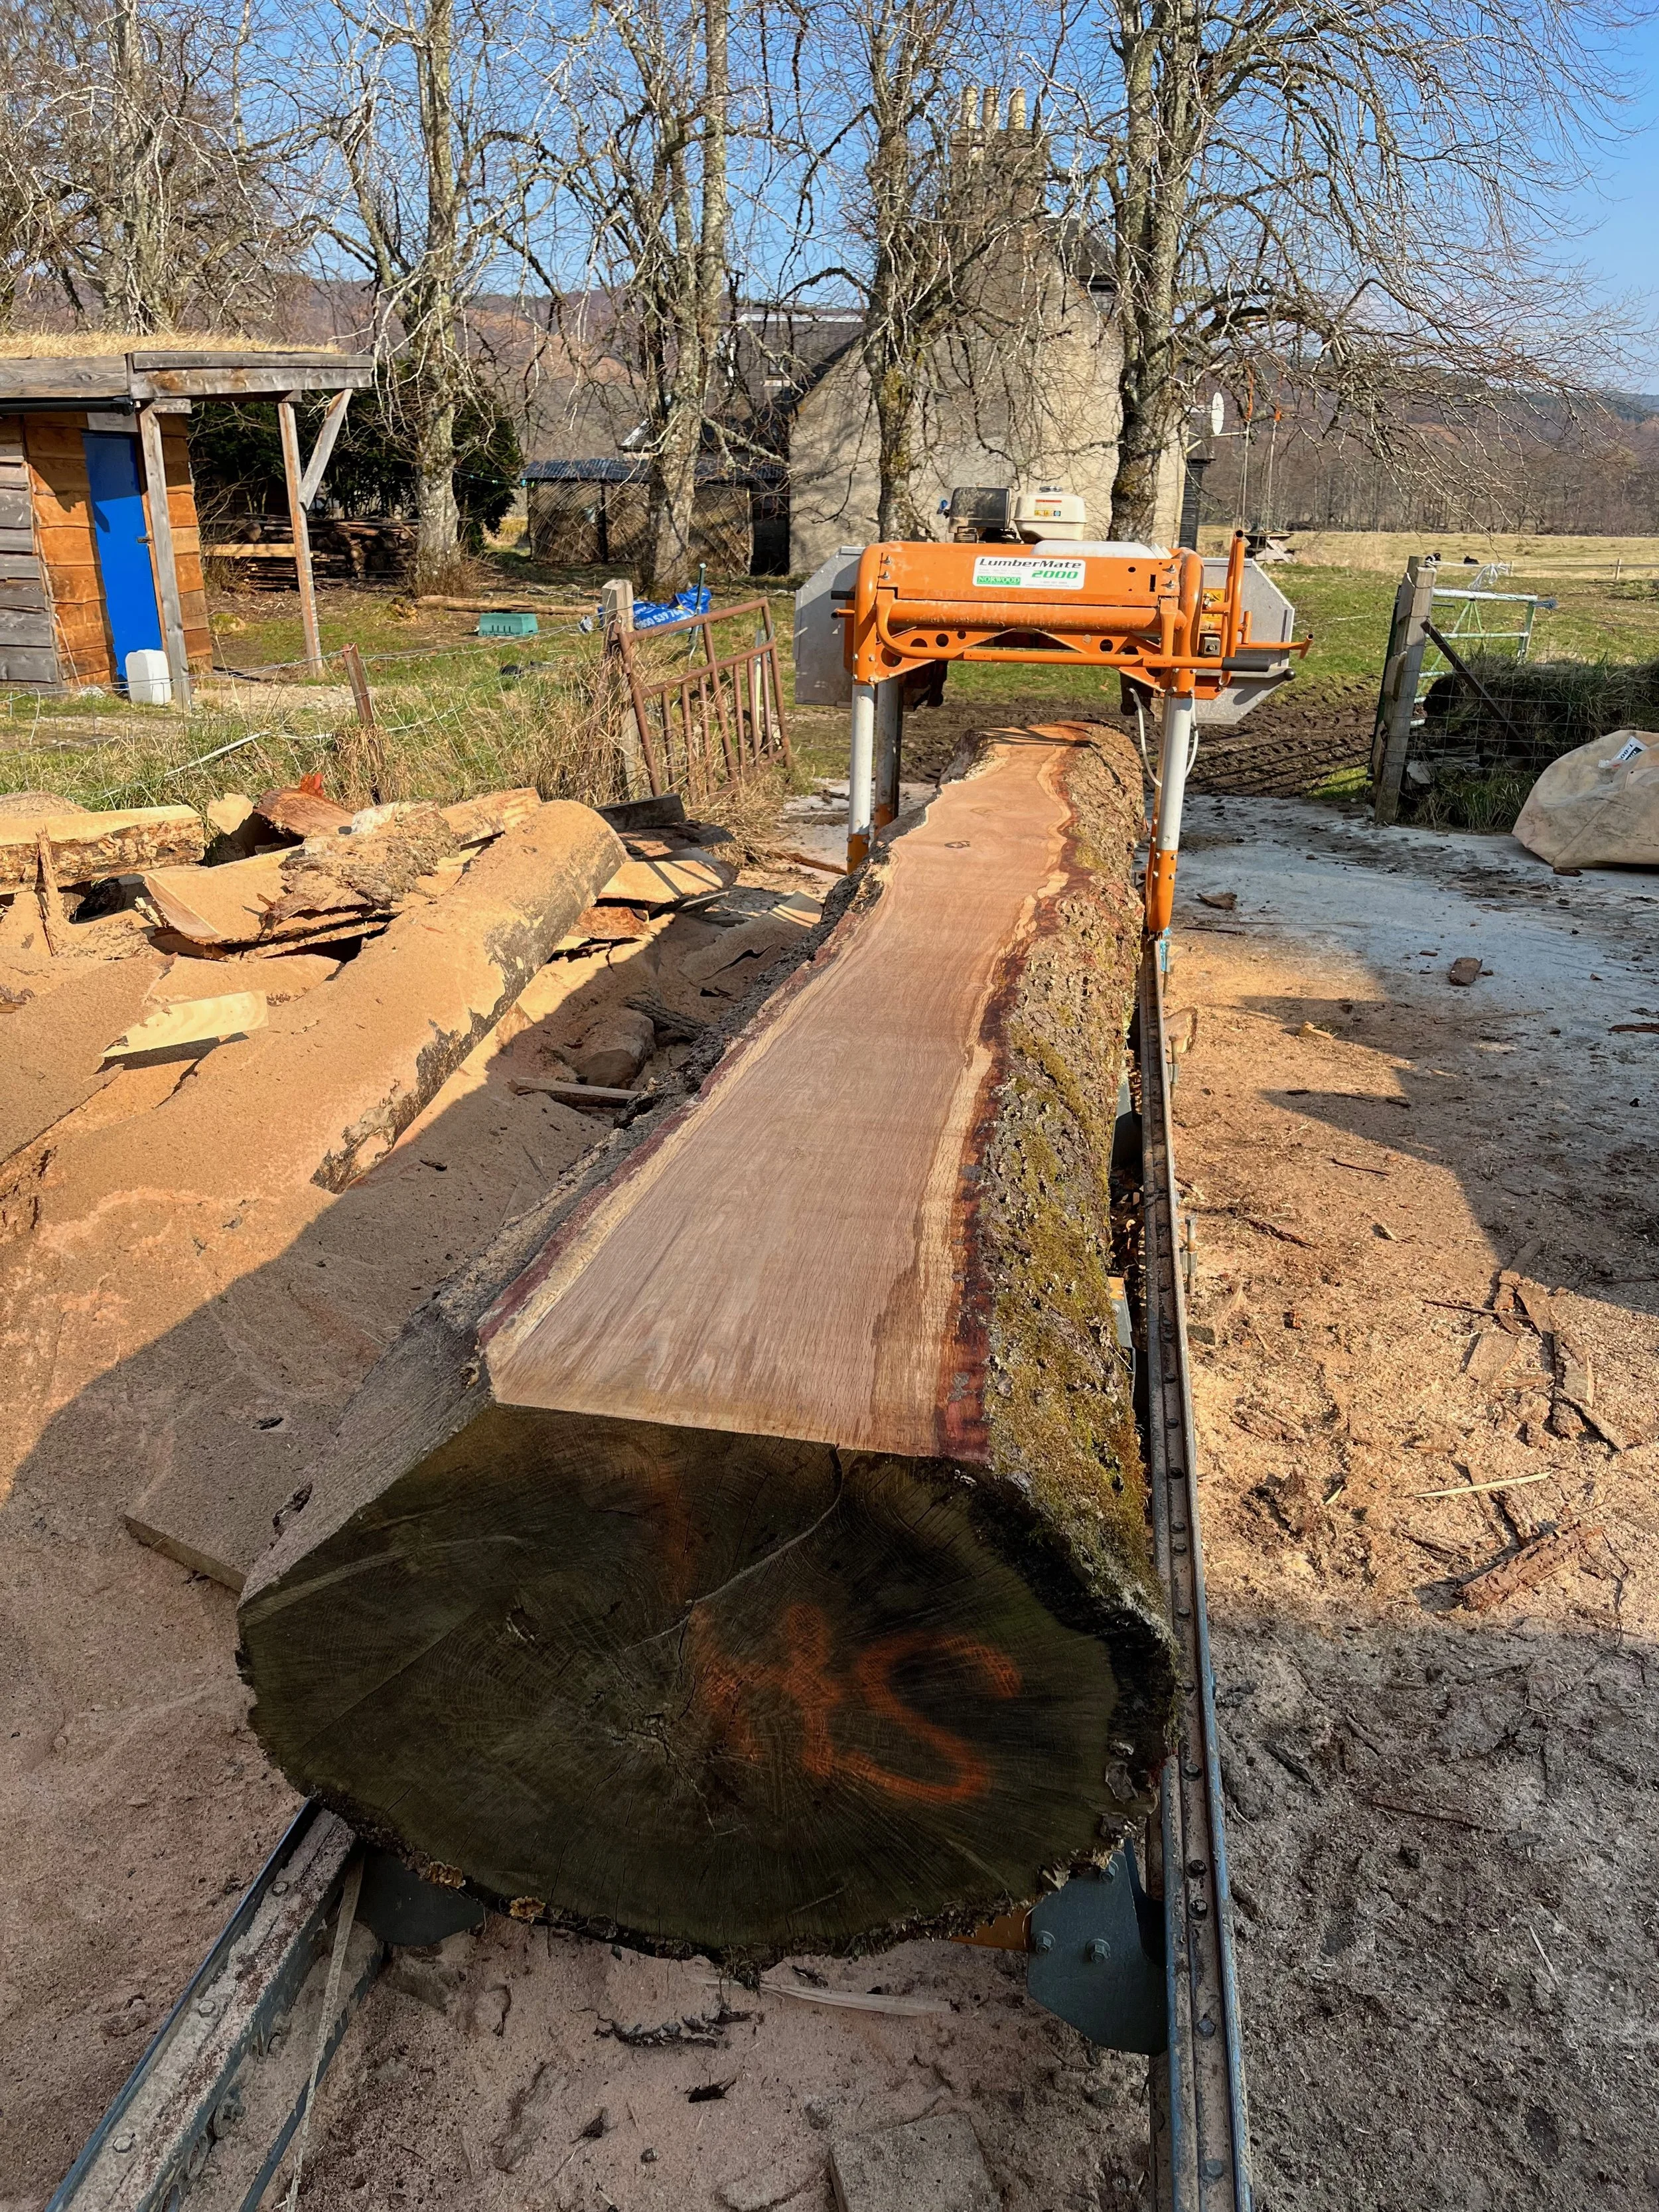
Milling
Using a small sawmill, we can load the log on (not always easy!) and then cut it into usable slices or large square timbers.
There are lots of ways to cut a log. The first stage is to try to level it so an imaginary line runs level through the centre, then a few cuts to take the bark off (used for firewood), then onto cutting the main pieces.
We always cut larger than we need because the wood shrinks and moves while drying.
-
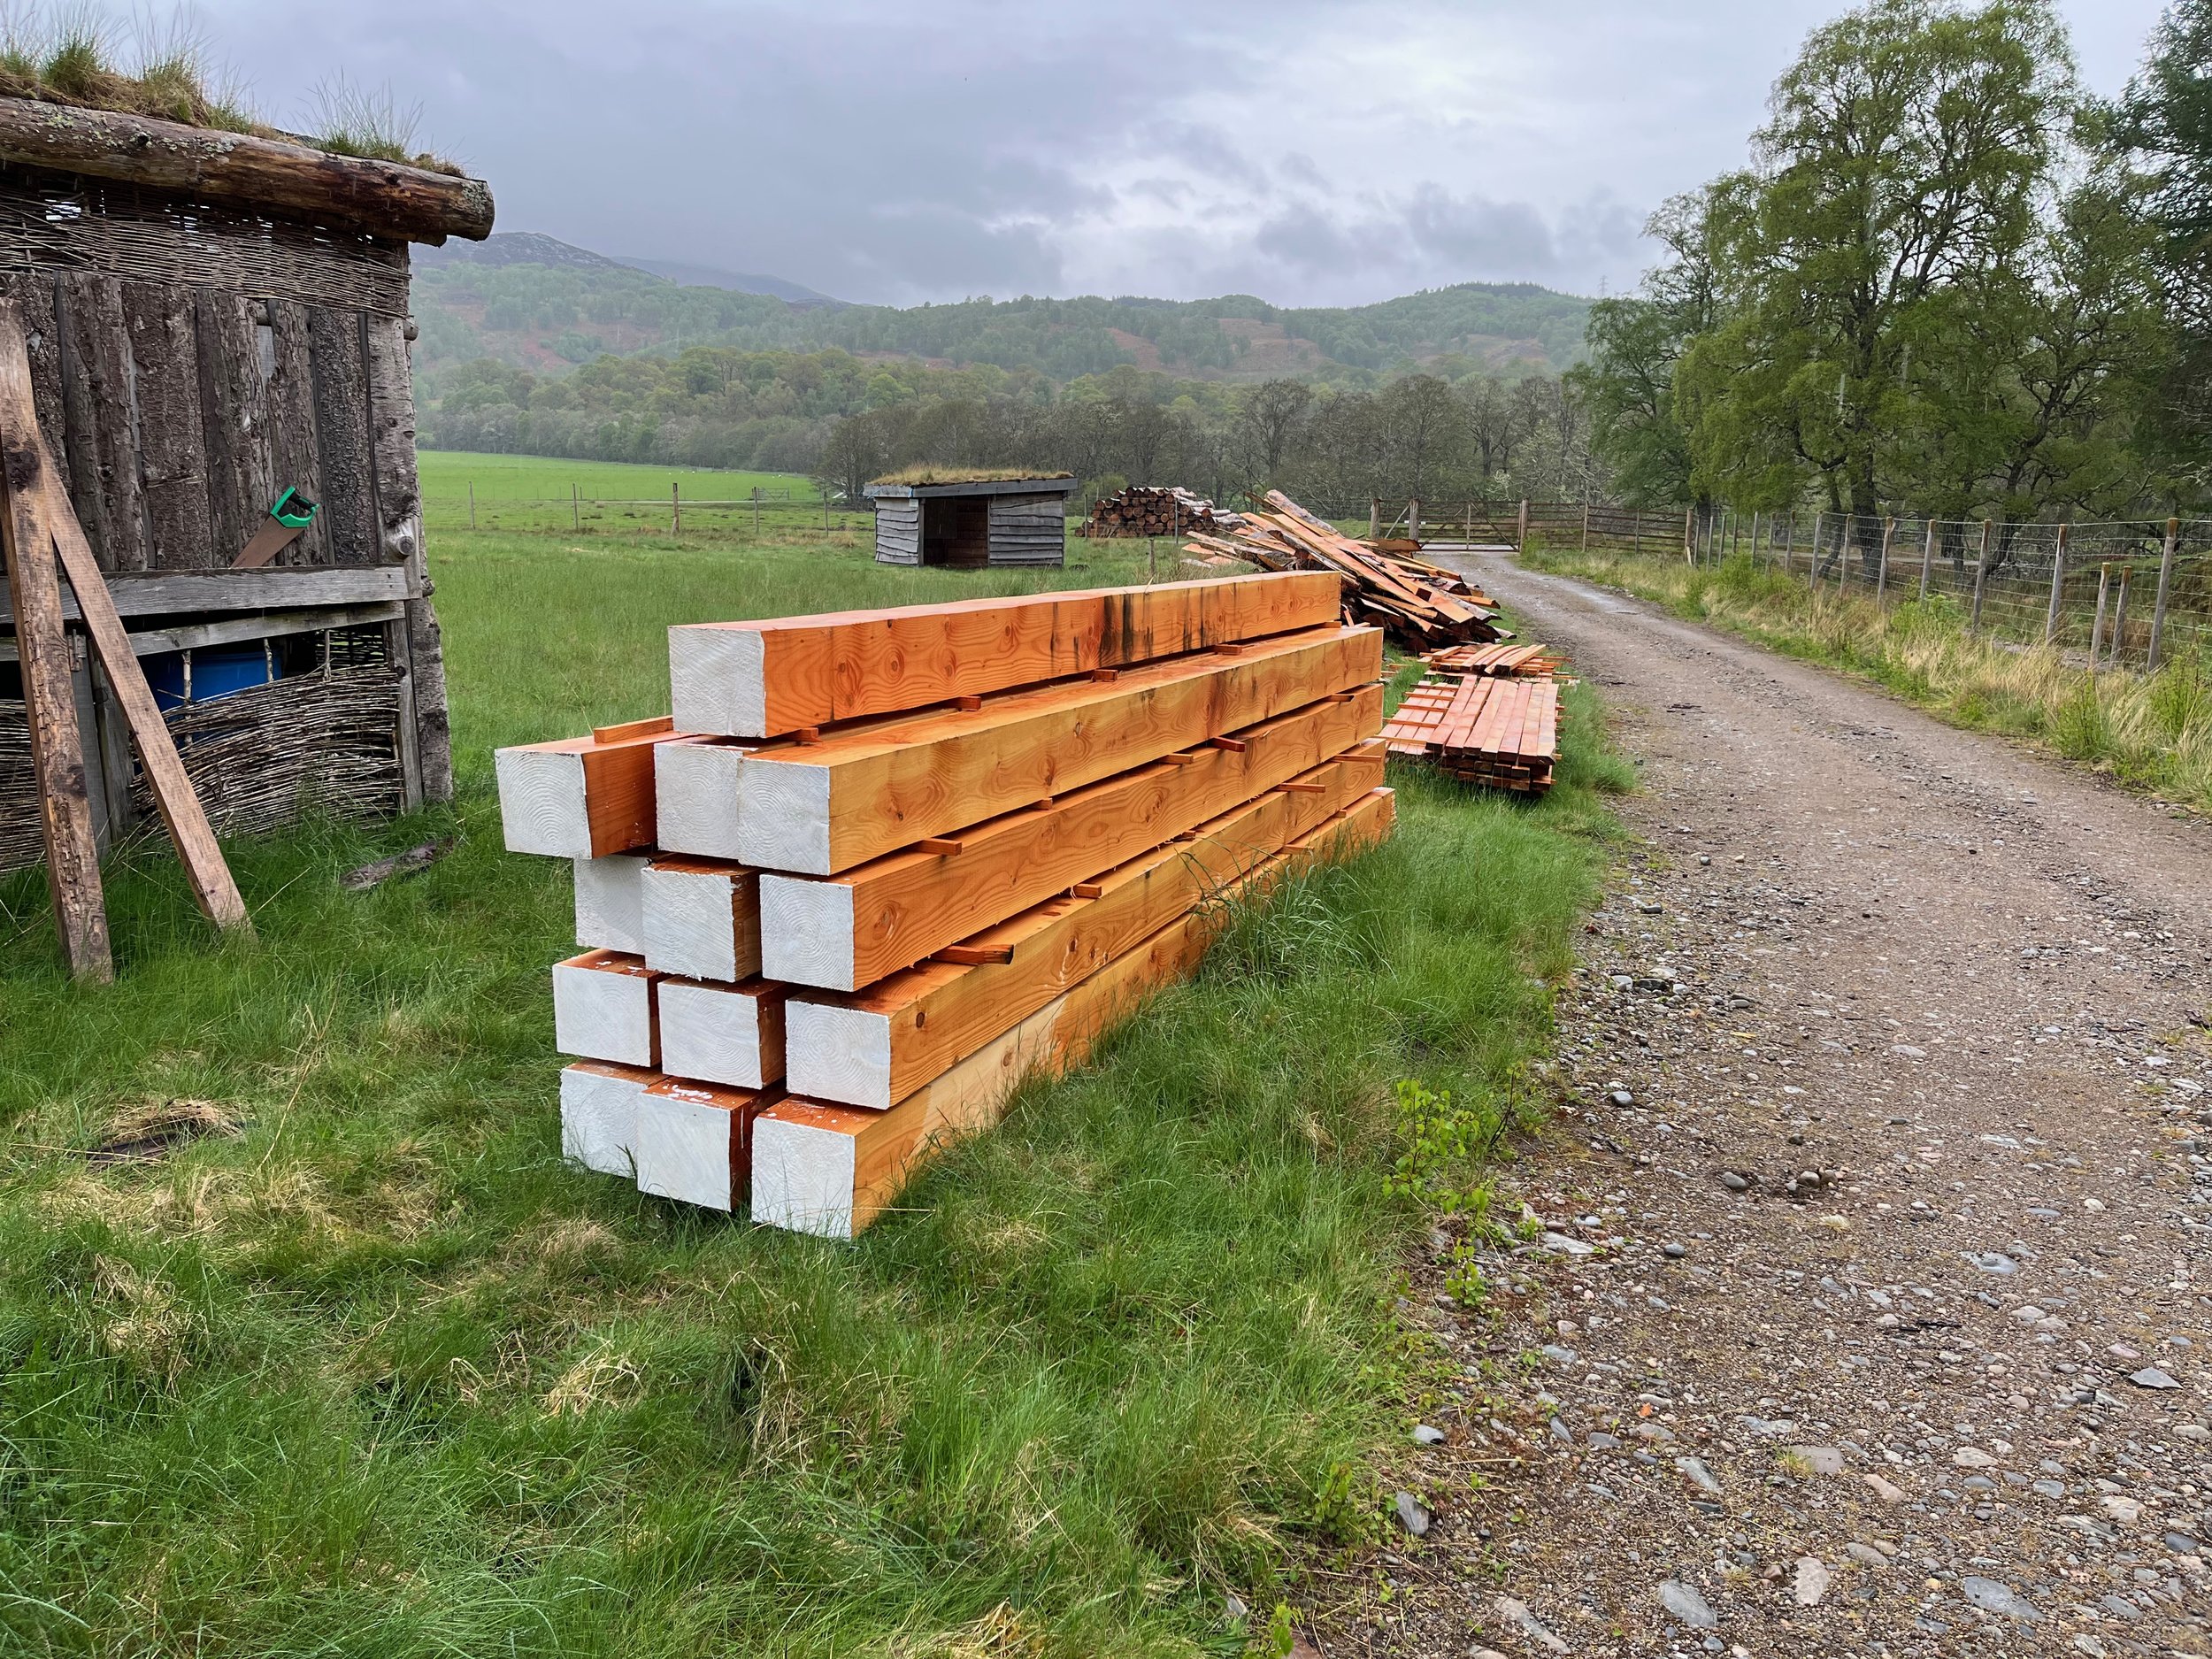
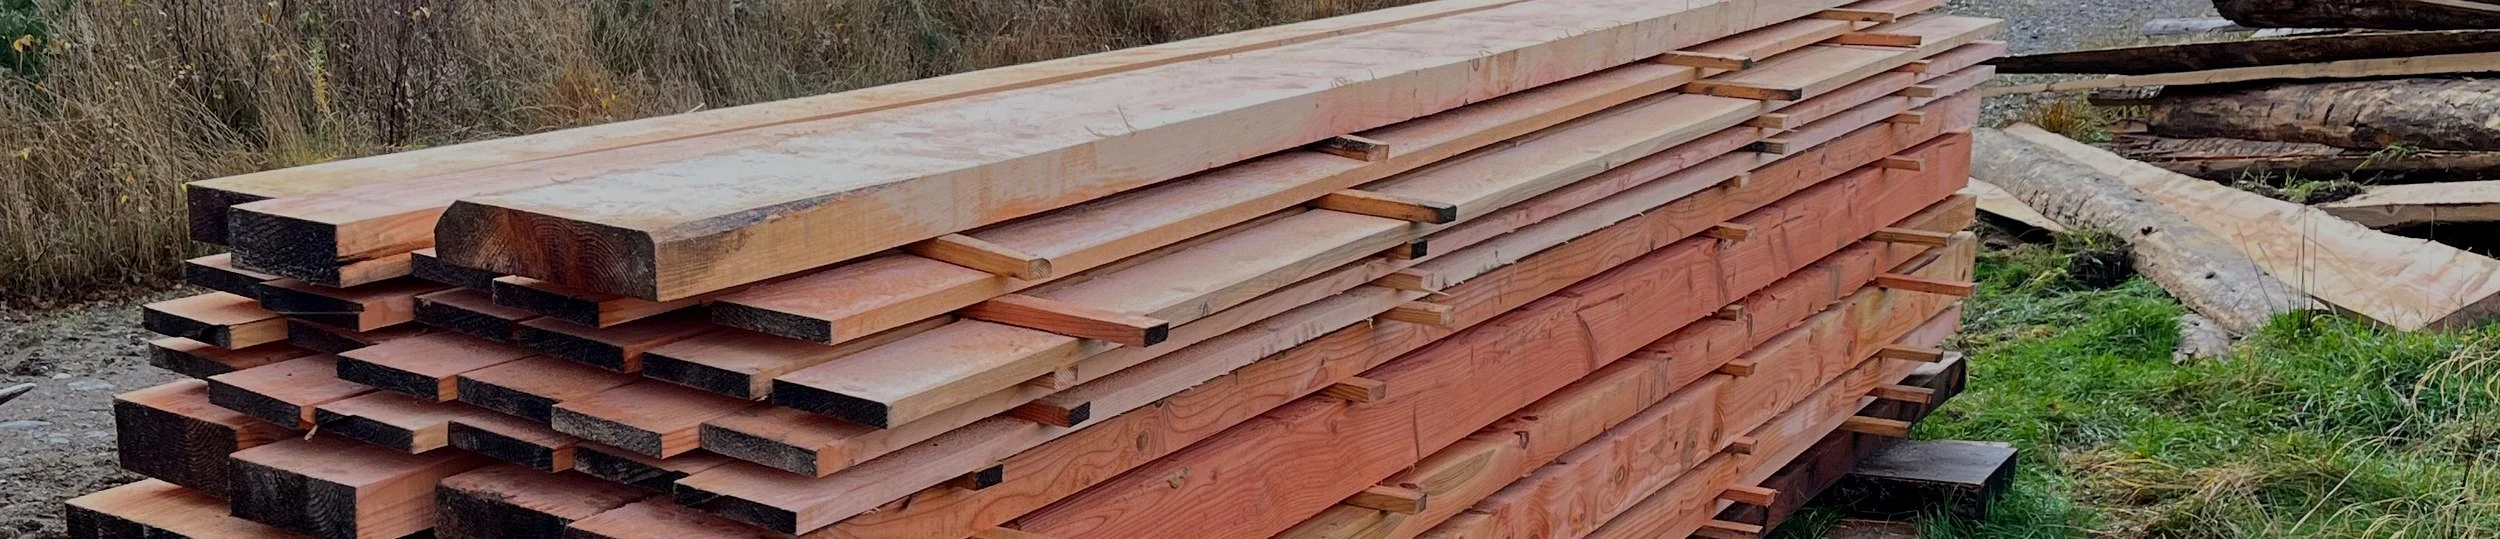
Airdrying
The timber now needs a year or two to dry slowly. This allows the water in the wood cells to evapourate. Often the water finds its way out quicker from the end cuts than the cuts along the length so we paint the ends to even things up and stop big cracks.
Trees grow under a range of stresses, compensating for a hill slope, or resisting the prevailing wind. When you mill them these stresses are released. The airdrying phase aims to let these come out slowly, but still you will get warping and twisting.
-

Bringing indoors
Wood is a natural product so it will always be irregular, and imperfect - that is why we like it!
Wood continues to move and flex throughout its life as a table or timber frame, but if the moisture has mostly all gone then it won’t move too much.
The aim is to bring the wood to the same conditions as inside your house - this takes some more time.
-

Selecting timbers and trimming
For each project we need to select the right timber. Sometimes we have milled the right piece and its been waiting and settling for several years, other times we need to go to the stacks and select the best plank for the job.
Inevitably it will be less than straight! And there will be bits we don’t need. Now is the time to trim it to roughly the right size, and then let it rest again.
-

Planing
Now we can put the timber through the planer thicknesser. If its too big we need to use a hand or electric plane.
Planing all sides gives you a fairly smooth surface, and makes sure everything is at right angles. Thicknessing makes sure the piece of wood is the same depth all the way along.
The wood often needs to rest between planing. Slowly slowly!
-
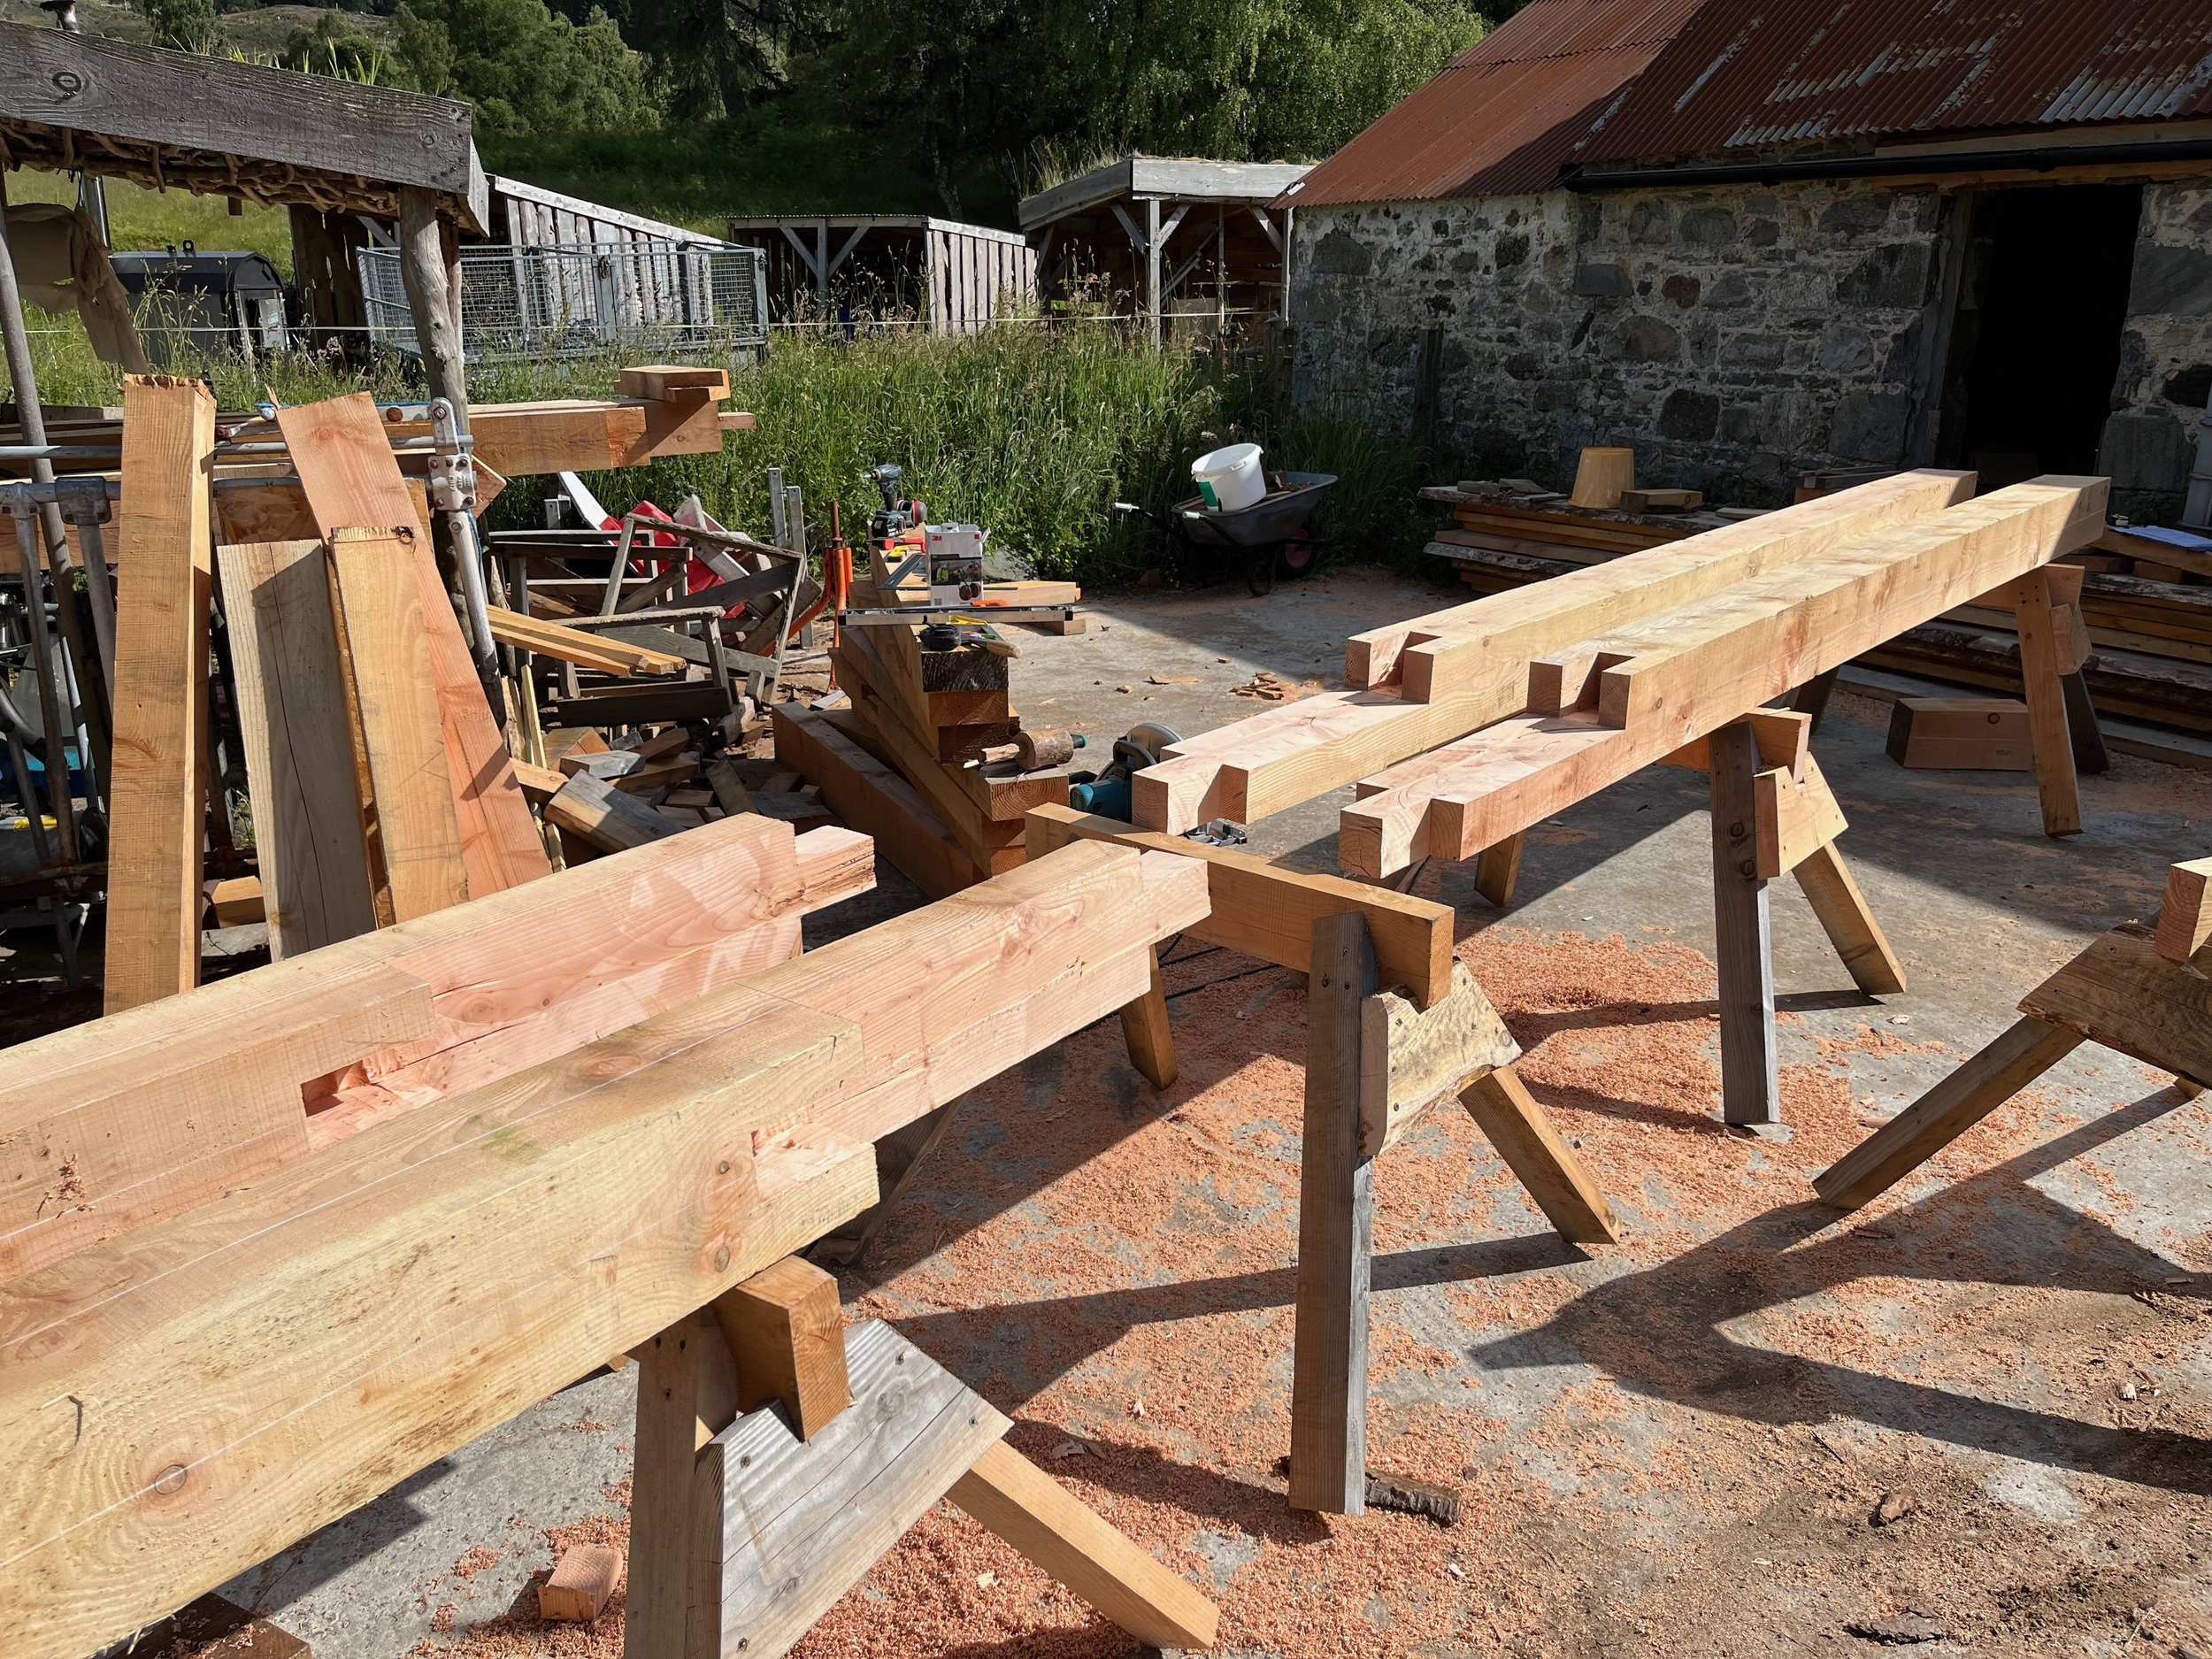
Shaping - Timber Frames
This is the fun bit. Shaping all the parts that will go into the finished piece.
With a timber frame this takes a very long time, and will require making mortices and tenons to join posts to beams. Braces form the classic 45 degree supports for joints. Splines and scarfs can join beams end to end. Read more about these techniques in our Timberstories. Each needs to be shaped, starting with electric tools but ending up with chisels.
Test fitting allows final adjustments to be made, and then holes are drilled for oak pegs. At this point we can treat the timber with natural products if needed.
-

Raising - Timber Frames
When we are sure everything fits together, all the pieces can be taken to the site (we can help prepare foundations if needed).
Now its raising day. This is a big event, the more people helping the better. A lot of standing around and safety talks, and then the frame is lifted and the pegs are driven home.
There’s nothing quite like the sense of achievement of working together to raise a big frame.
-

Shaping - Carpentry
For all the smaller timberworks we do, the shaping is a bit finer!
Finger joints or dovetails will join two pieces at their ends, sliding dovetails give strength to pieces joined in the middle.
Even simple boards and stair treads need their holes to be filled with epoxy resin, or cracks stopped with bowties. See our Timberstories for more about joints.
This is patient work and can take weeks!
-

Glue Up - Carpentry
When everything fits together its time to glue it.
Each join needs an even covering of woodglue, then it needs to be clamped together for a few hours to keep everthing in place.
You can never have enough clamps for this job!
-
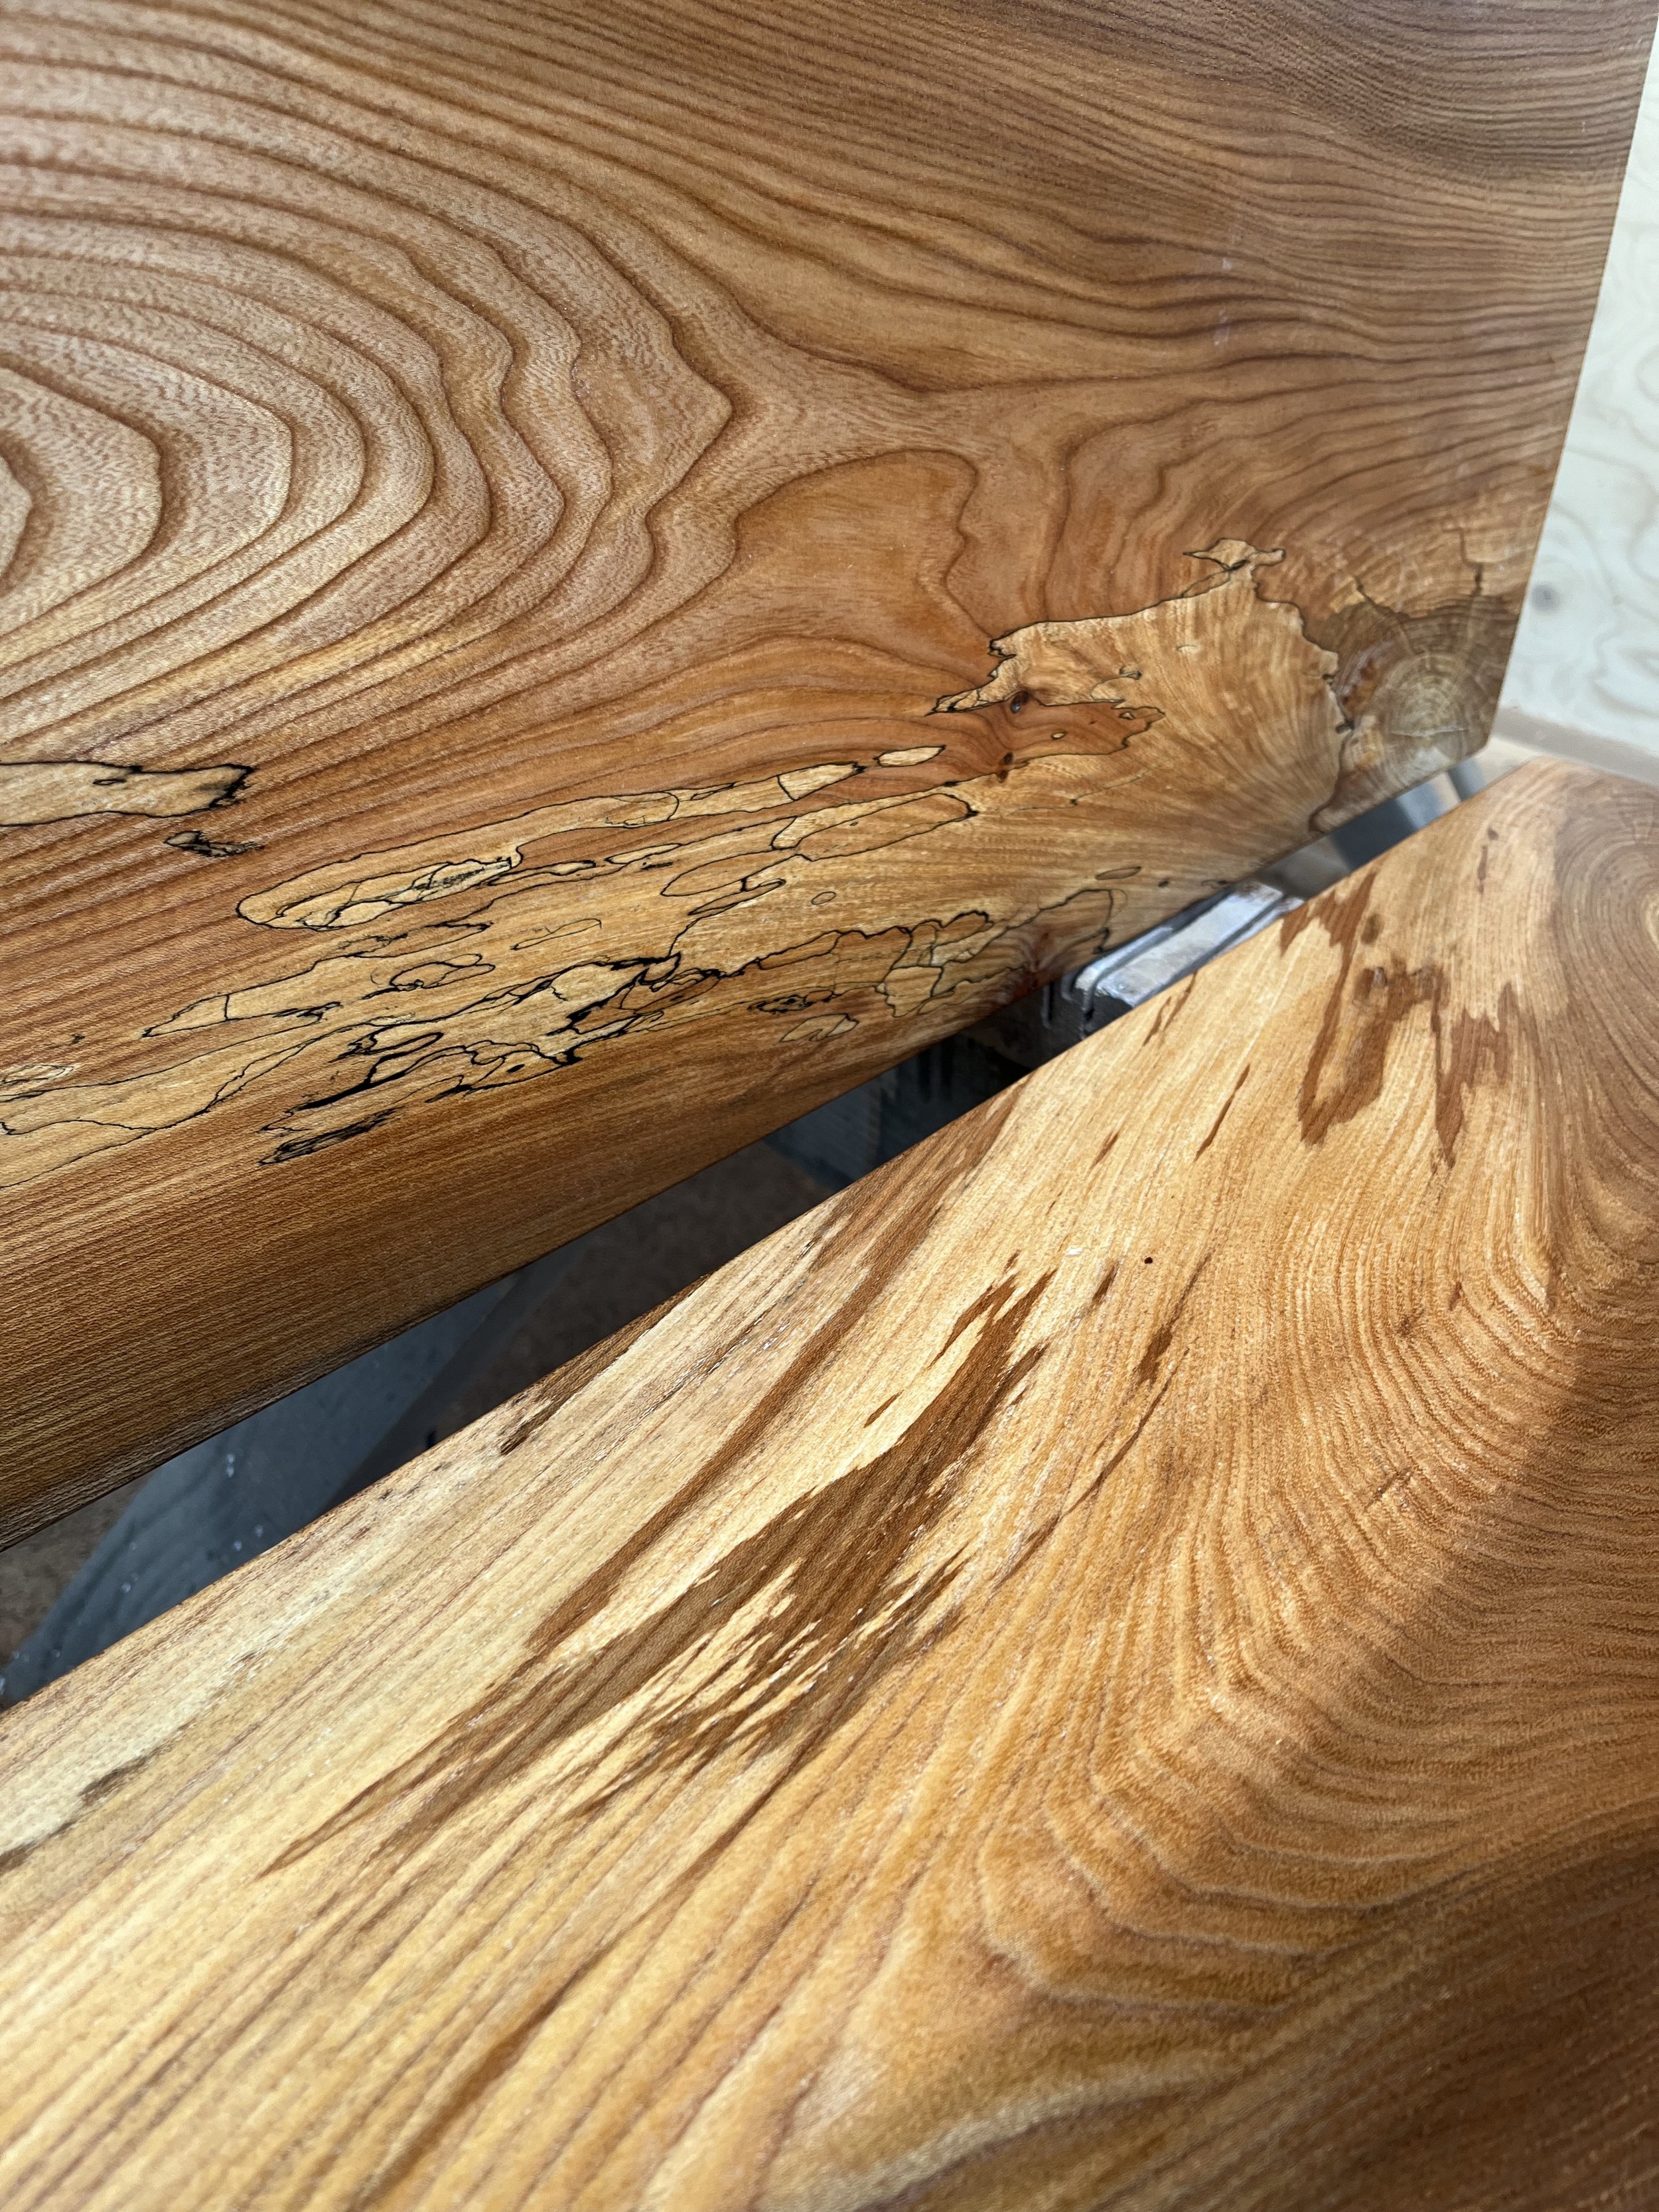
Finishing - Carpentry
The final stage of the carpentry process is to sand down everything, using finer grits as you go.
We use Osmo oils on all our indoor timberworks, as their products all have a very high environmental standard, and are food safe.
One coat of oil will raise the grain, needing a final sand off and then a second coat to give a really smooth finish. Now the grain really glows.
-
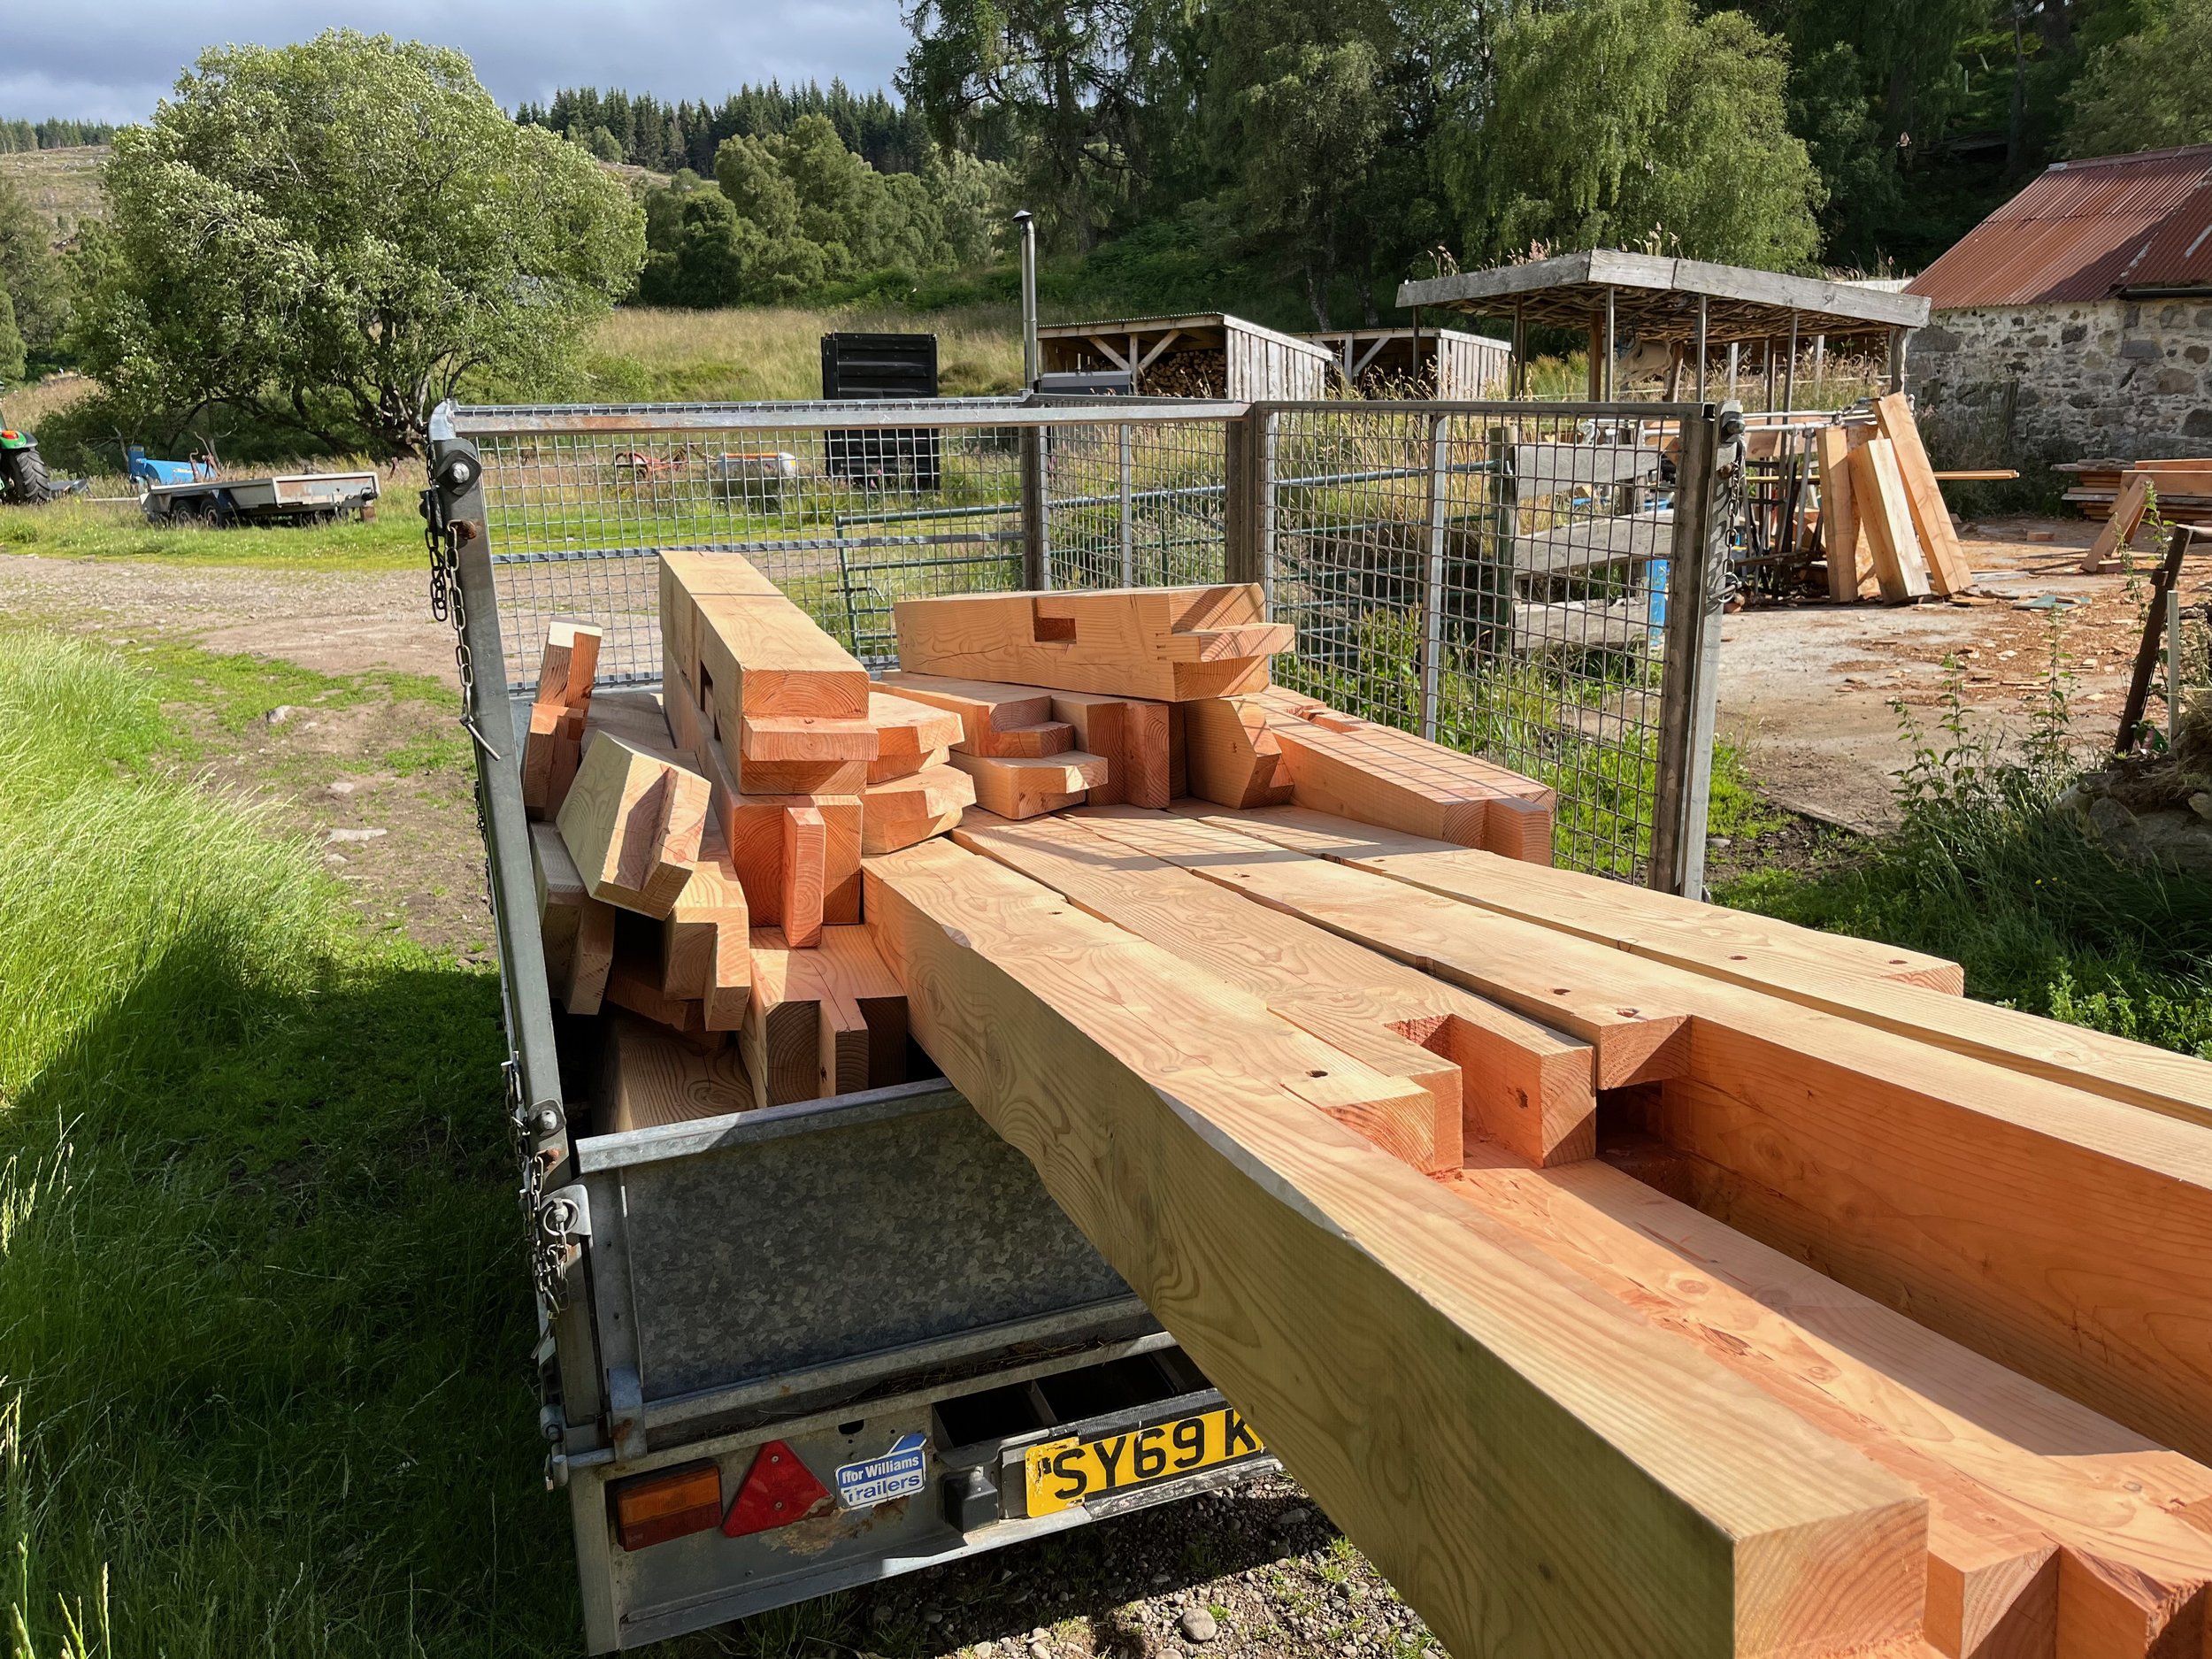
Getting your product to you
The final part of the process is to get your piece to you!
If its small enough we can package it and put it in the post, otherwise we’ll be loading it on a trailer and bringing it your home.
We look forward to seeing where this storied piece of wood will make its new home.